
Updated for version 6.0.30
A Single select or Multiple select variable keeps a choice among a closed list of options that you write yourself: a difficulty level, a mood, a category, the items a player picked. Unlike free text, the value can never be misspelled: it is always one of your options.
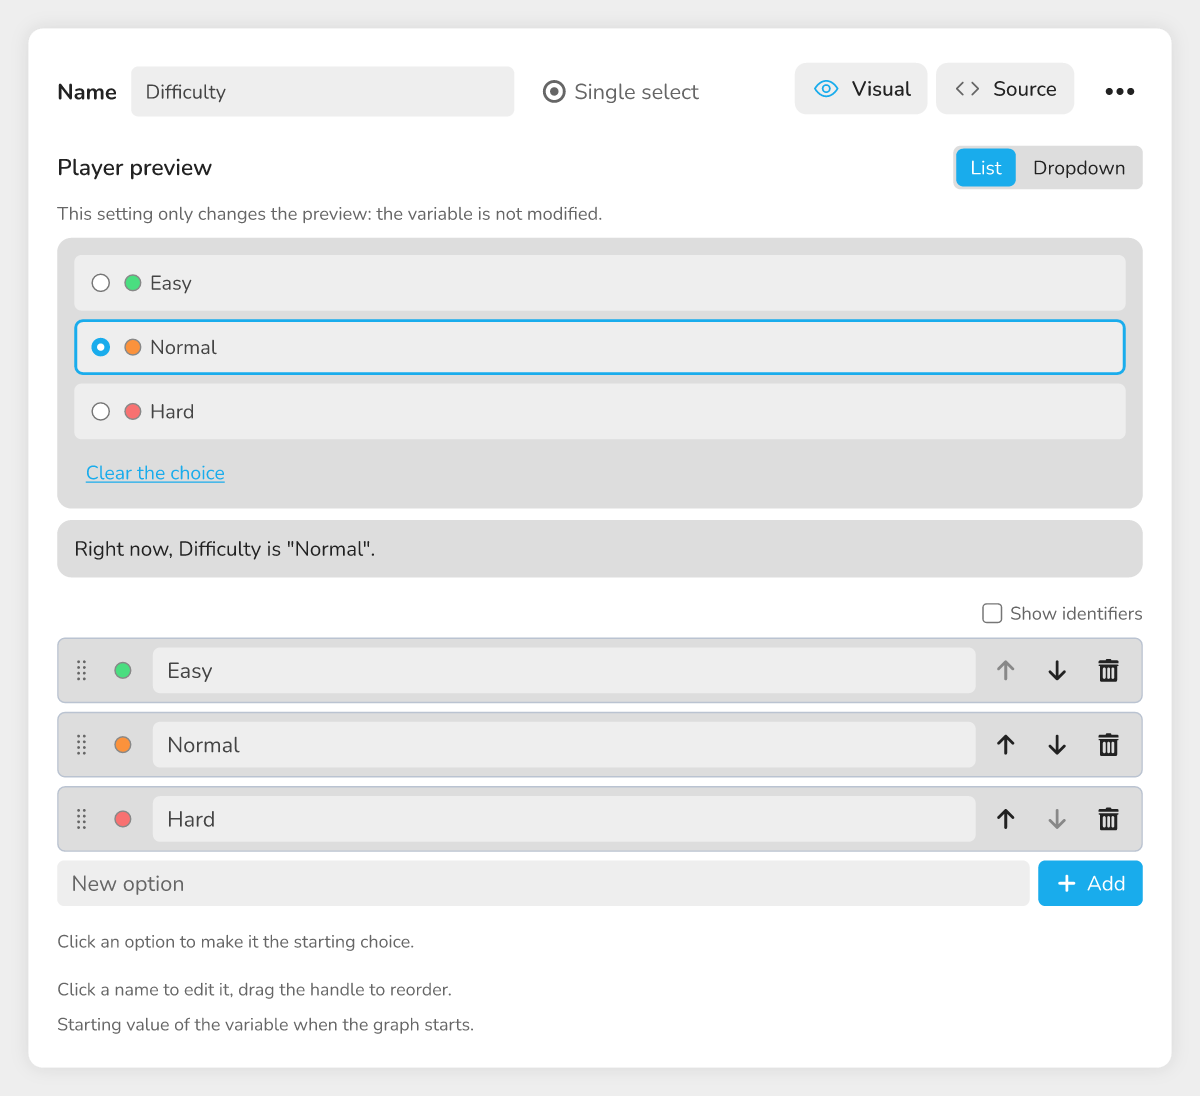 The Variables window with a Single select variable open, the player preview at the top and the list of options below.
What they are for
- Single select: one choice at a time, like a difficulty level (Easy, Normal, Hard).
- Multiple select: several options ticked at once, like inventory items or the player's interests.
Each option has a name (its label) and, if you want, a color. You can rename or move an option at any time: the blocks that use it keep working, because every option keeps an internal identifier that never changes.
Create the variable
- Open the Variables window.
- Click Add variable.
- Name the variable, then choose the type Single select or Multiple select.
- Confirm with Add.
🔺 Note: the type of a variable cannot be changed once it is created ("The type of a variable cannot be changed"). If you are unsure, read Choosing a variable type.
If the variable has no value yet, the panel offers an Add a single choice button (or Add a multiple choice): click it to create the starting value.
Write the options
The panel has two positions, Visual and Source. In Visual, the Options section lists your options.
- In the First option field, type the name of the option, for example "Easy".
- Press Enter or click Add. The field stays ready for the next option (it is then called New option).
- Repeat for each option.
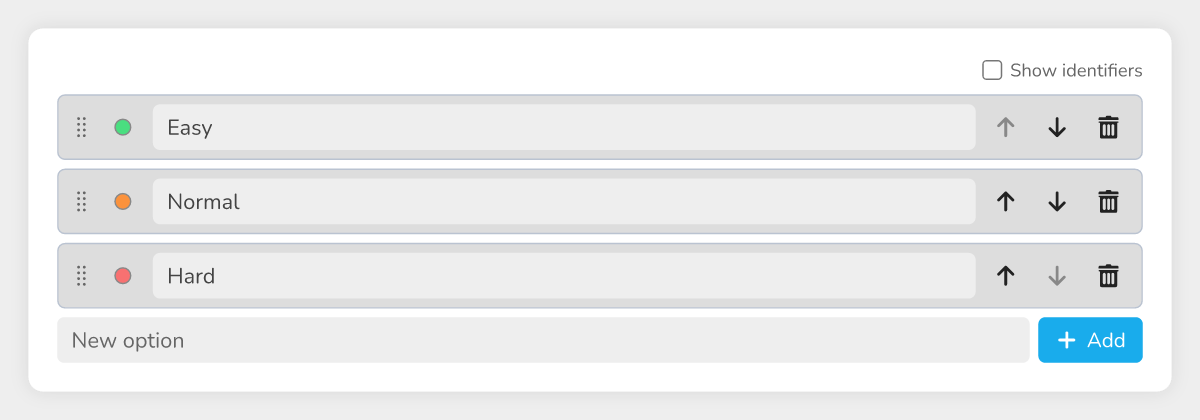 The Options section with three options, their color dots, the arrows and the handle.
On each row you can:
- rename the option by clicking its name, then confirm with Enter;
- change its color by clicking the dot: the palette offers ten hues (Blue, Cyan, Green, Orange, Red, Brown, Purple, Pink, Gray, Yellow) in four intensities (light, medium, dark, darker), or No color;
- reorder by dragging the handle, with the up and down arrow buttons of the row, or with Alt + up or down arrow in the name of the option;
- delete with the Delete option button.
After a deletion, a message "Option "Easy" deleted." appears with an Undo button: the option comes back in its place with its original identifier, so the blocks that used it work again. Tick Show identifiers to see the identifier of each option.
Choose the starting value
The Player preview section shows the list the way the player would see it. This is where you choose the value when the graph starts (the default value):
- for a Single select, click an option; Clear the choice removes the selection. The Preview style setting (List or Dropdown) only changes the preview, not the variable;
- for a Multiple select, tick the starting options; a counter shows for instance "2 of 5".
A sentence under the preview sums up the state: "Right now, Difficulty is "Normal"." If you delete the chosen option, the starting value is simply empty.
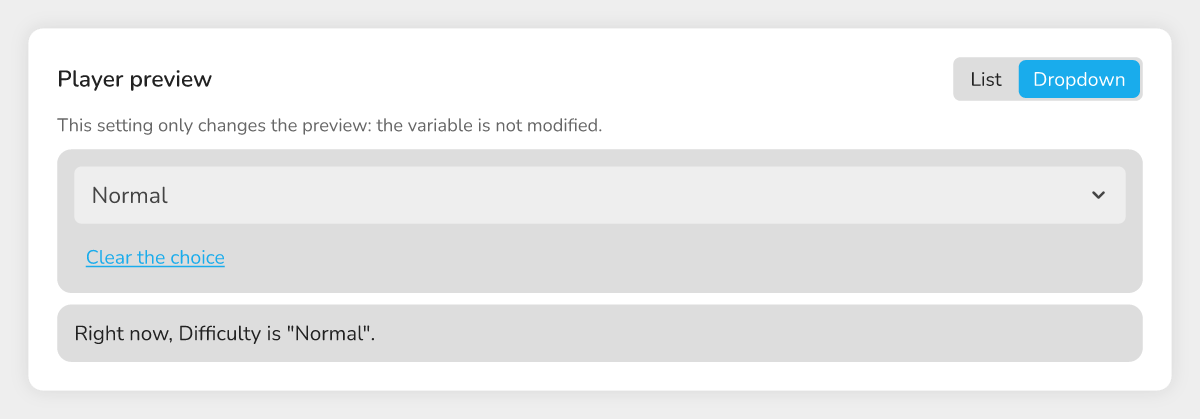 The preview in Dropdown mode, with the summary sentence below.
Use the variable in blocks
- Assign: choose the variable, then the option or options to give it. For a multiple select, the assignment replaces the ticked options.
- List includes: connect the variable to the list input and an option to the value input; the block answers yes or no depending on whether the option is chosen (single select) or ticked (multiple select).
- Multiple choice: this block writes the player's ticked boxes into a Single select or Multiple select variable. See 🟩 Multiple choice.
- Baserow: see below.
Show it in a text or a menu
Write {{difficulty}} in a dialogue, a narrator, an alert or a slide: the text shows the label of the chosen option, not its identifier. For a multiple select, the labels are separated by commas.
In the menu editor, the Variable element also accepts these two types and shows the chosen labels.
Translate the labels
Option labels are translated along with the rest of the project. In the Translations window, Export a PO file includes the options of your variables, and Import a PO file reads them back once translated. Each translation shows "option label translated out of ..." with its completion percentage. The player sees the translation for their language, or otherwise the label you wrote. See The Translations window.
With Baserow
A Baserow single select or multiple select field is read as a Single select or Multiple select variable, with the options (and colors) of the field. When writing, the block sends the chosen option to Baserow. If an option does not exist in the field, nothing is written and a message says so: add the option in Baserow, then click Synchronize columns in the Baserow configuration of the block. See 🗄 Create your database with Baserow.
Troubleshooting
| Message | Solution |
|---|---|
| Type a name for the new option, for example "Yes" or "Red", then confirm again. | The field was empty: type a name before pressing Enter or Add. |
| The name of an option cannot be empty. | The previous name is kept. Type another name or delete the option. |
| Another option is also named "Red". | The two options remain distinct, but rename one so you do not mix them up. |
| Nothing was written: the Baserow field has no option named ... | Choose one of the field's options, or add it in Baserow then synchronize the columns. |