
The Integrations window gathers the settings that link your project to other services: Baserow, Airtable, Make, My Celestory Help and Voltask, plus the Celestory credentials of the project. Each service now has its own card, which you expand with one click. This article walks through each card and the fields to fill in.
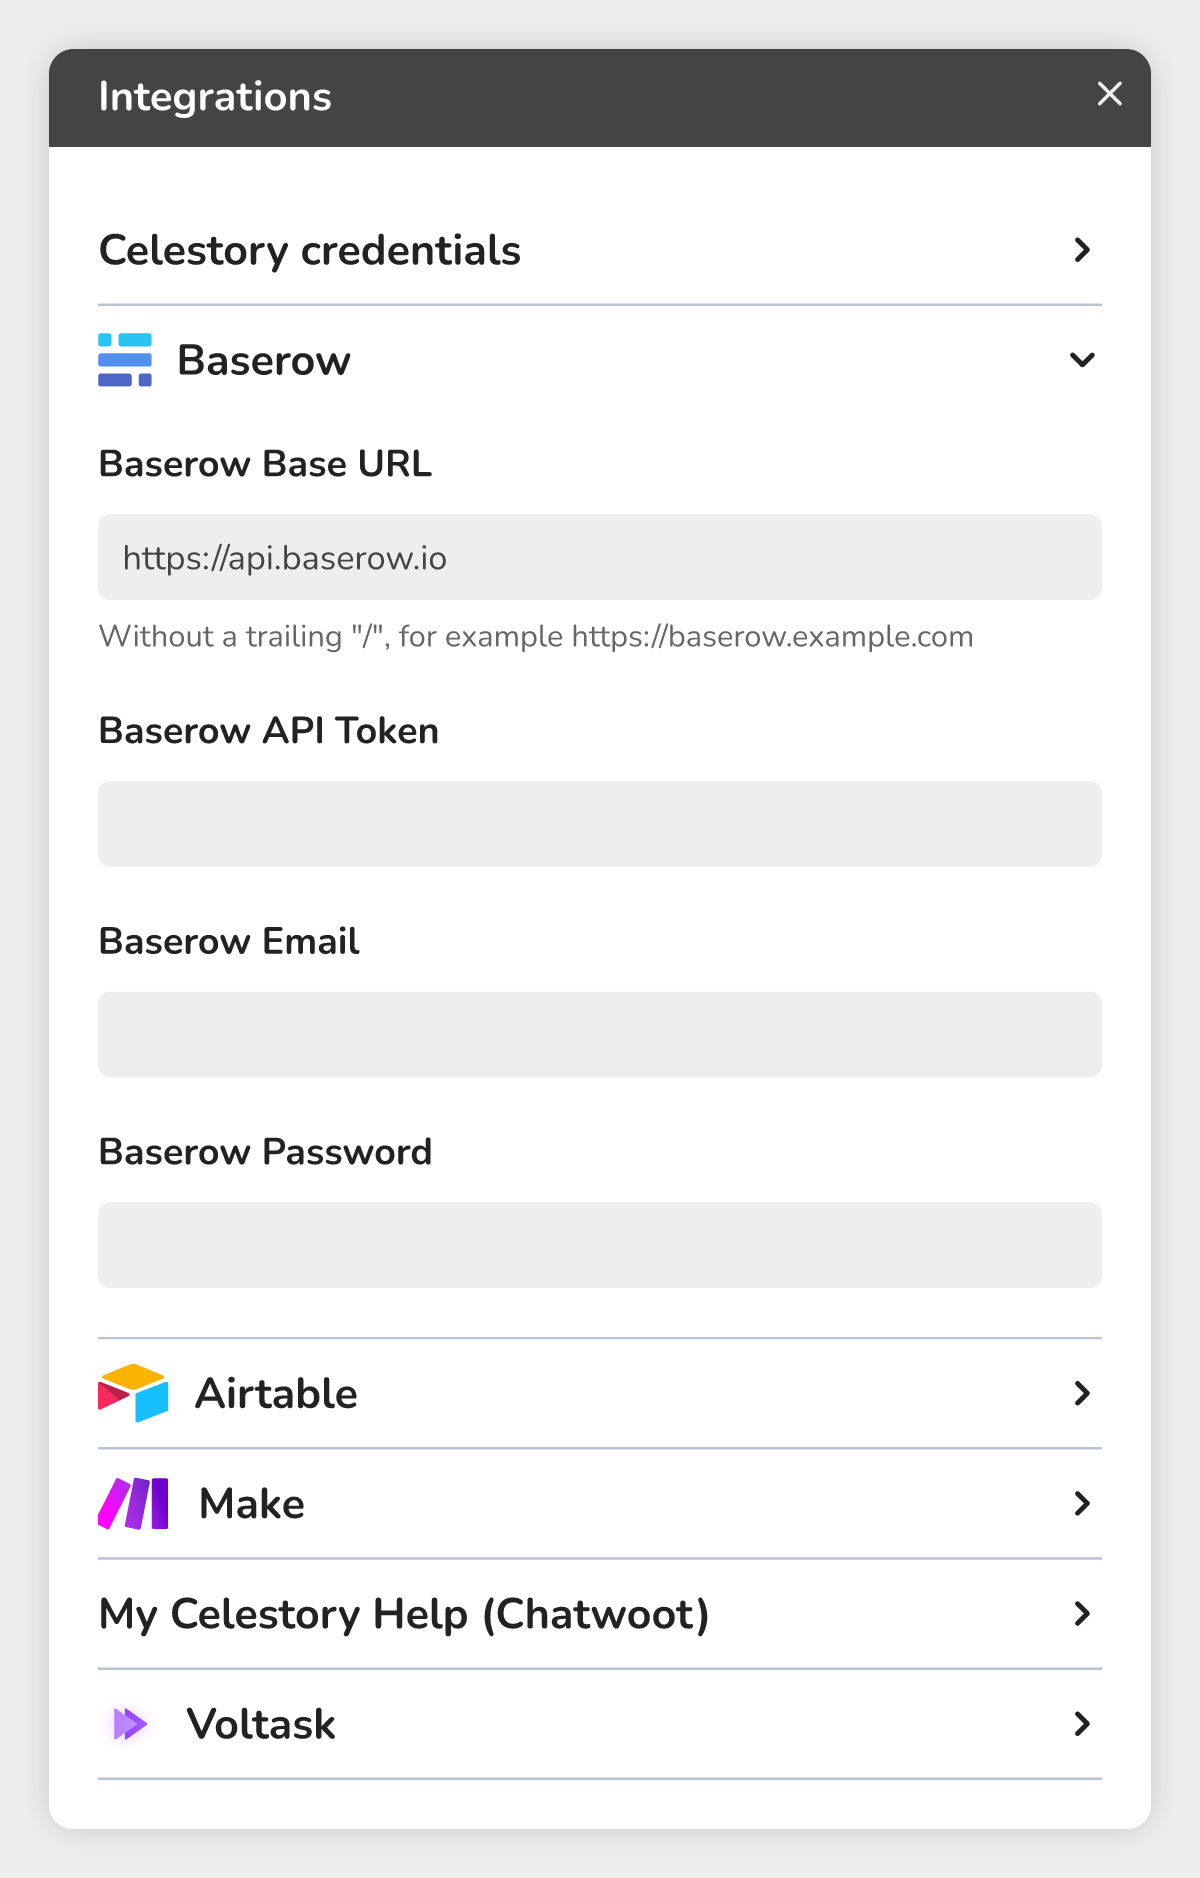 The Integrations window as it opens: the Baserow card is expanded, the other cards are collapsed
Opening the window
- Click the Menu button at the top of the editor (it shows the name of your project).
- Choose Integrations, or use the shortcut Cmd + Shift + I (Mac) or Ctrl + Shift + I (Windows, Linux).
The window also opens from the configuration of a Baserow or Airtable block when the connection is not set yet: click the red message (for example "Enter your Baserow email and password, or a Baserow token, in the integrations").
How the cards work
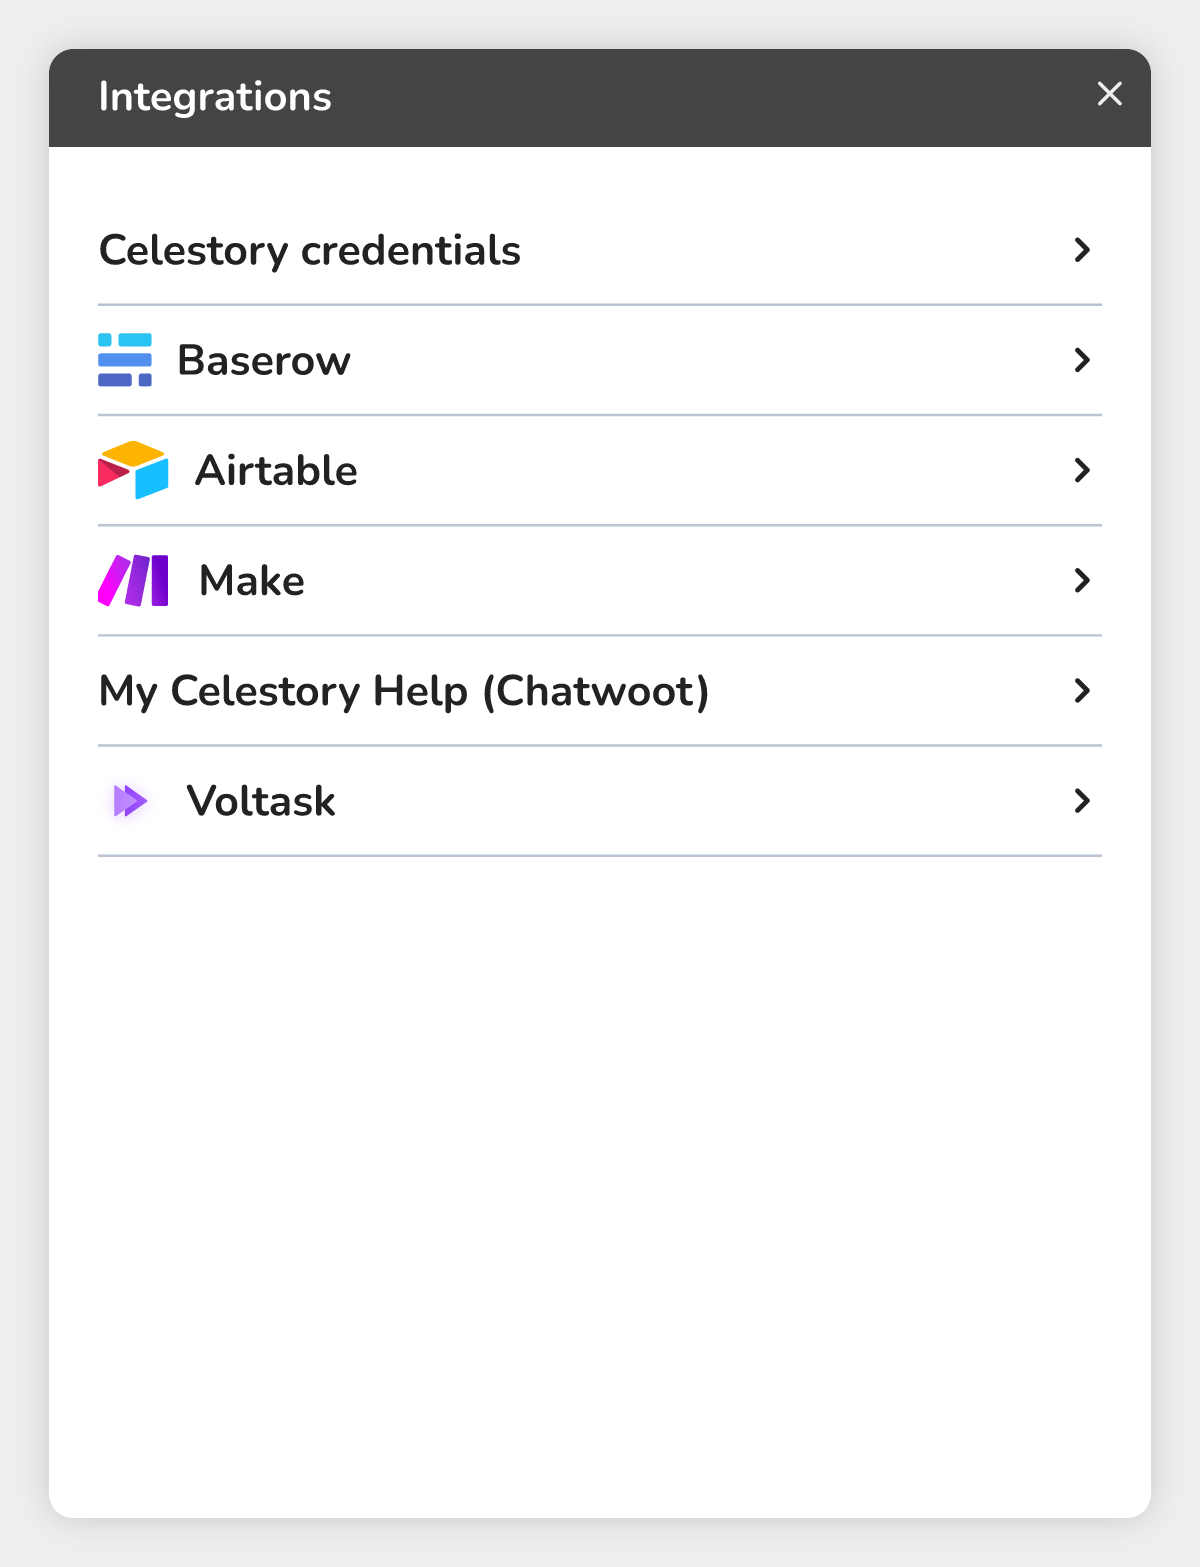 The six cards, all collapsed (here, the Baserow card was collapsed with a click)
- The cards come in this order: Celestory credentials, Baserow, Airtable, Make, My Celestory Help (Chatwoot), Voltask.
- Baserow, Airtable, Make and Voltask show their logo next to their name; the two other cards only show their name.
- Click the header of a card to expand or collapse it. The arrow on the right points down when the card is expanded.
- When the window opens, the Baserow card is always expanded. The Airtable and Make cards are expanded if they are already filled in, and the My Celestory Help (Chatwoot) card if the chat bubble is turned on. The others are collapsed.
- When a service is filled in, its card shows ✓ Configured next to its name. This status exists for Baserow, Airtable, Make and My Celestory Help.
The cards, one by one
| Card | What it holds | What it is for |
|---|---|---|
| Celestory credentials | Client ID and Client Secret, each with a button to copy it | the credentials of your project |
| Baserow | Baserow Base URL, Baserow API Token, Baserow Email, Baserow Password | the connection used by the Baserow block |
| Airtable | AirTable API key | the key used by the Airtable block |
| Make | Make webhook URL | the address used by the Make block |
| My Celestory Help (Chatwoot) | the settings of the chat bubble and of the documentation access | showing your team's chat bubble in the published app |
| Voltask | a short text and service logos | explaining how to use Voltask |
Celestory credentials
Expand the card to show the Client ID and the Client Secret of the project. If the project has none yet, they are created at that moment (a "Loading…" message shows for a few seconds). The button to the right of each value copies it, and the "Copied to clipboard" message confirms the copy.
Baserow
The card has four fields:
- Baserow Base URL: the address of your Baserow. It is
https://api.baserow.ioby default; only change it if you use a self-hosted Baserow. - Baserow API Token: the token created in your Baserow account.
- Baserow Email and 4. Baserow Password: the credentials of your Baserow account.
Under the URL, a hint says: "Without a trailing "/", for example https://baserow.example.com". If the address you type ends with "/", the hint is replaced by a warning: "Remove the trailing "/", otherwise the connection does not work." Click the Remove the "/" button to fix the address in one click.
Which field is used where:
| Field | Used to |
|---|---|
| Baserow Email + Baserow Password, or Baserow API Token | in the editor, list your databases and tables in the configuration of the Baserow block |
| Baserow API Token | while the story runs, read and write the rows of your tables |
For a Baserow block to work from start to finish, fill in the Baserow API Token, even if you also typed your email and password.
Airtable and Make
Each of these cards holds a single field: the AirTable API key for the Airtable block, the Make webhook URL for the Make block. Paste the value, then click outside the field.
My Celestory Help (Chatwoot)
This card is used to show your team's chat bubble in the published app and, if you wish, to protect your team's documentation. Its settings have their own article.
Voltask
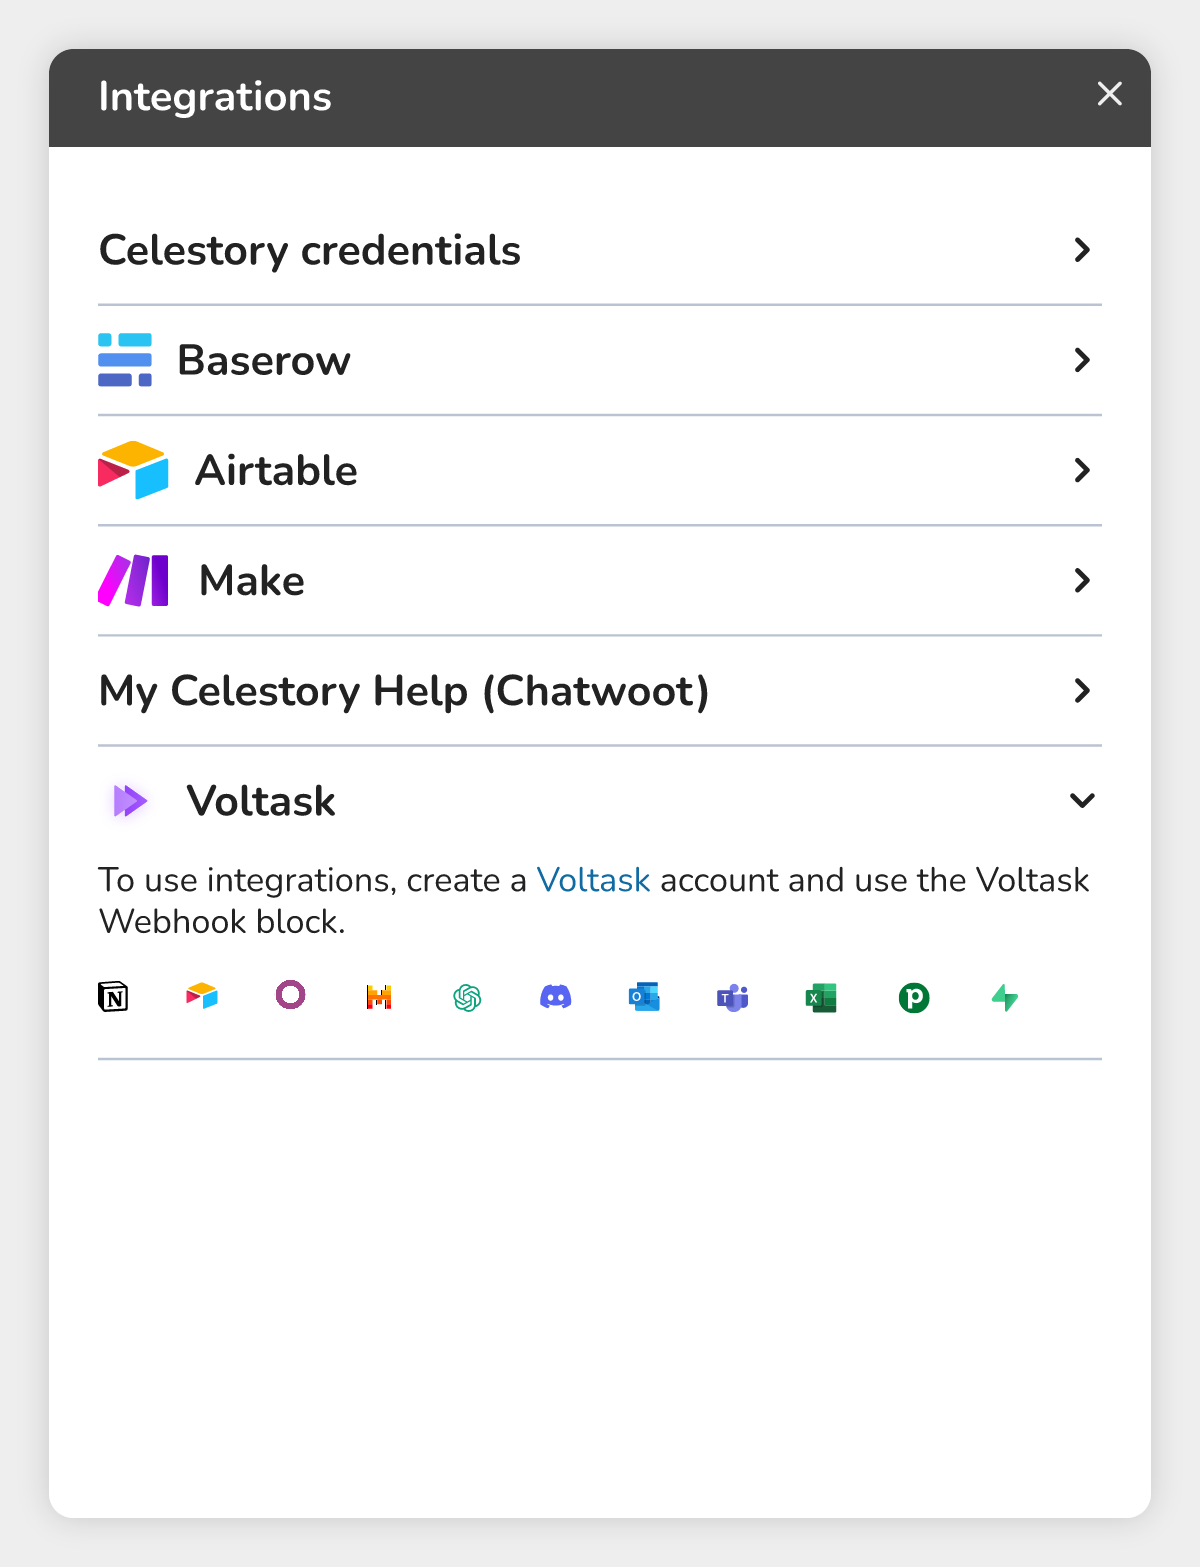 The Voltask card expanded: the link to Voltask and a few services you can reach through it
The Voltask card has no field. It says: "To use integrations, create a Voltask account and use the Voltask Webhook block." The word Voltask is a link that opens Voltask in a new tab. The logos below give examples of services you can reach this way.
💡 Example: connecting a Baserow database
- Open Menu › Integrations. The Baserow card is already expanded.
- Keep
https://api.baserow.ioif you use Baserow online. For a self-hosted Baserow, type its address without a trailing "/". - Paste your token into Baserow API Token.
- Type your Baserow Email and Baserow Password if you want to pick your databases and tables with these credentials.
- Click outside the last field: the card shows ✓ Configured.
- Close the window, add a Baserow block and choose your database, then your table.
Good to know
- Each value is taken into account when you leave the field (click elsewhere or press Tab). Only two settings of the My Celestory Help (Chatwoot) card have their own button: the identity validation secret (Save) and the documentation access (Save access).
- ✓ Configured only means that a value is filled in, not that the connection works. For Baserow, it shows as soon as a token or an email is filled in: check the connection by configuring a Baserow block.
- The Baserow email and password are not included in your app: only the token is. Without a token, the Baserow block lets the flow go on without reading or writing any row.
- If you only fill in the token, your databases appear in the configuration of the Baserow block under a number (for example "Base 123") instead of their name: the email and password let you see them with their name. When the email and password are filled in, the editor uses them first, even if a token is typed: check them if your databases do not show up.
- The former elements of the window (the Voltask header at the top, the strip of logos and the section for the other integrations) are gone: the Voltask text and the logos are now in the Voltask card.